

“Would you be interested in a Civil War letter?”
I’ll be the first to admit that I can be a little (or a lot) hard to shop for when it comes to Christmases or birthdays. So when my mom–trying to get creative and knowing my passion for Civil War relics–asked me back in 2016 if I’d be interested in a historic letter as a gift, I was reluctant at first. I remember telling my mom that I was nervous about adding a document to my collection. Up to that point, the metal items I’d been collecting, while still fragile, felt like they could withstand more than a piece of paper. Besides, I’d told her, how would I even store an antique letter?
That Christmas, my mom decided to proceed with gifting me a Civil War civilian letter anyway. And to prove my mom knows me better than I sometimes know myself, that was one of the best gifts I ever received. Why? Not only did I get a super cool letter (that even mentions the writer’s Newfoundland dog, named Bob), but it sparked an unquenchable interest in collecting historically significant documents.
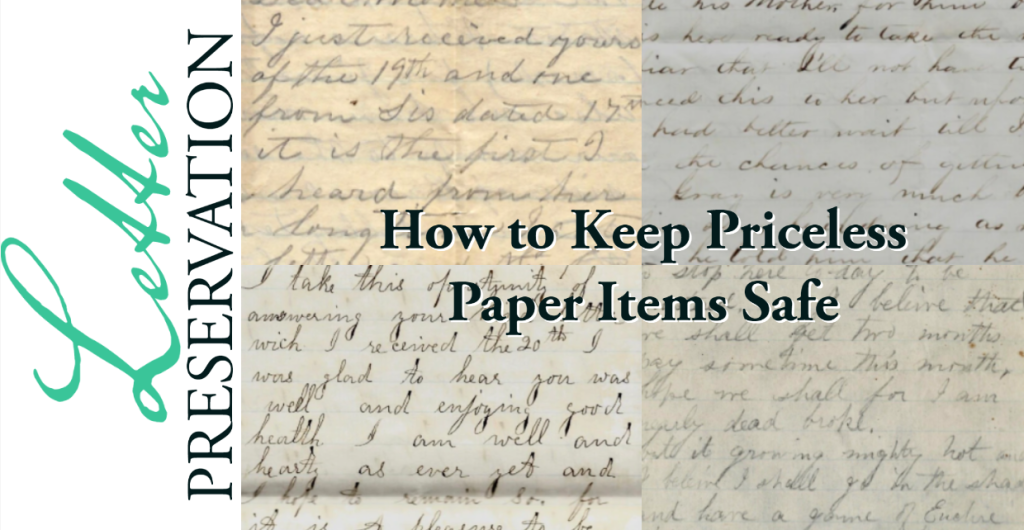
By Christmas 2017, I’d asked for (and received) a Civil War soldier letter written by 127th New York Infantry soldier, Sewall Adams. After that, I just couldn’t stop adding these letters to my collection. Today, my personal archive boasts around 20 (and counting!) letters, not to mention other historic documents–from a 1600s newspaper and World War II letter to Civil War discharge certificate and Battle of Shiloh reunion invitation. As I’ve embarked on a journey of collecting paper antiques, I’ve gained knowledge along the way to keep my artifacts safe and properly preserved. Ready to figure out how to preserve your paper collection, no matter the era it’s from? Then read on!

Before we delve deeper into how we can properly preserve artifacts, I have to start by saying that those handling historic letters should opt, when possible, to wear archival gloves. However, if you aren’t able to snag a pair, you can still wash and 100% dry your hands before handling the papers to ensure no dirt or grime slips onto the historic page. Additionally, try to handle the paper as little as possible, which is why putting it in a special sleeve (which I’ll discuss in a moment) is super important.
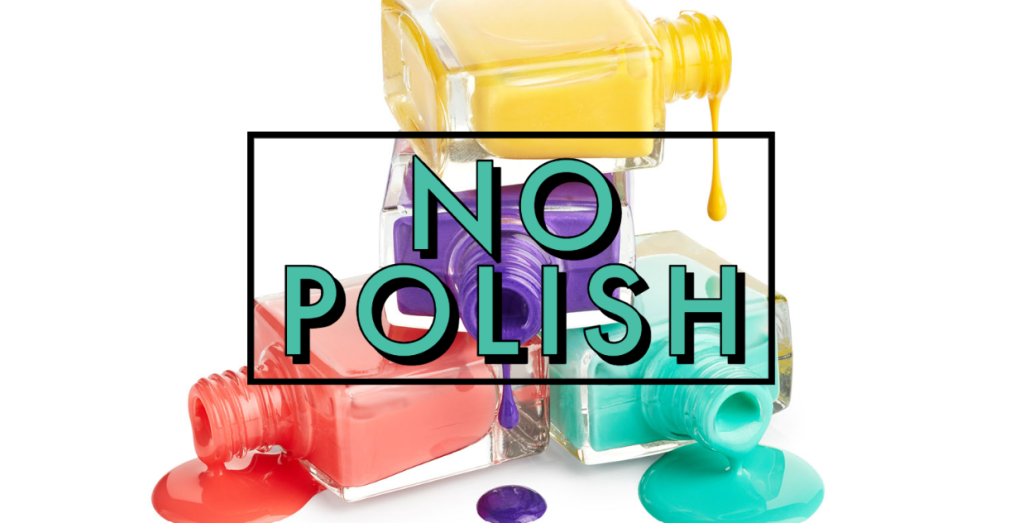
And ladies, I have to advise you to make sure your nails are polish-free before touching historic documents. Many polishes will transfer the color from the nail to the page when the nails are rubbed or streaked across papers. So while you might not be thrilled at taking off your manicure before handling historic papers, it really is a must.
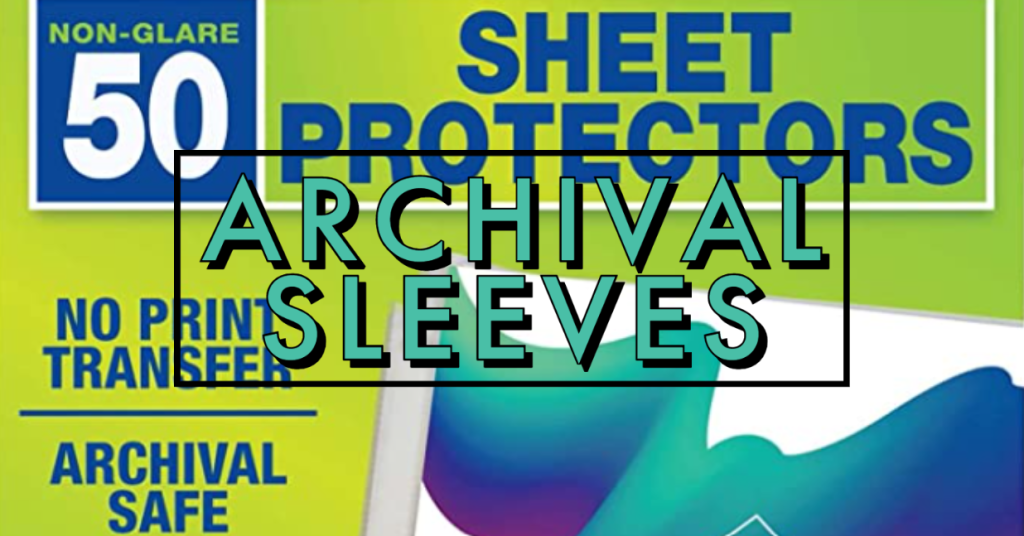
The natural oils on our hands can be dangerous to artifacts, including coins and paper items. But of course, every historian and genealogist wants to easily be able to view their historic documents. Luckily, there’s a way to do this without directly handling papers, thanks to archival sleeves! Personally, I’m a fan of Samsill Sheet Protectors, because they won’t transfer prints, they hold 8.5″x11″ papers and, best of all, they’re archival safe! Plus, you can snag 50 sleeves for under $15, which is a small price to pay in order to properly preserve letters. In my opinion, sheet protectors are a huge win.
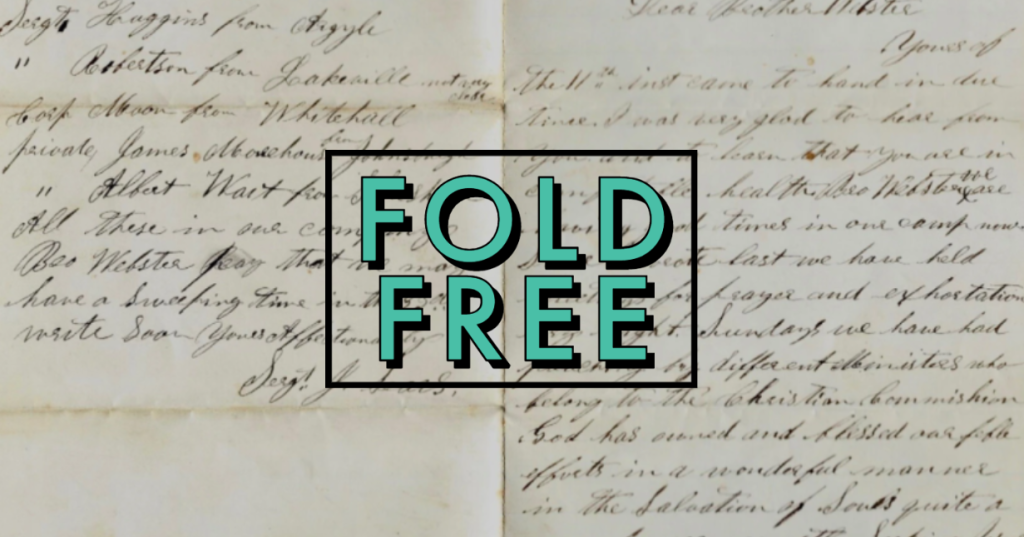
If you have historic letters in your collection that haven’t been properly preserved before, chances are they’re still folded up like when they were first slipped into an envelope all those years ago. Although it pains me to tamper with an item’s originality, and I once struggled with the idea of unfolding historic documents, my ideas have since changed. Now, I realize unfolding those historic documents before slipping them in an archival sleeve is vital. Over time, I’ve seen a letter’s creases do more harm than good, ultimately ripping the item in two or making it difficult to open the papers without creating irreversible damage.
When you unfold the paper and place it in an archival sleeve, you’re taking a huge step in properly preserving the item. Unfolded, you’re able to see the full document in it’s protective covering, without having to manually unfold the paper and risk tearing or harming the item in some way. Plus, even though it may not be folded as it was 100+ years ago, the letter’s creases are still visible. So while it may not be an easy decision–based on my own experiences–I 100% believe that unfolding those letters is for the best.
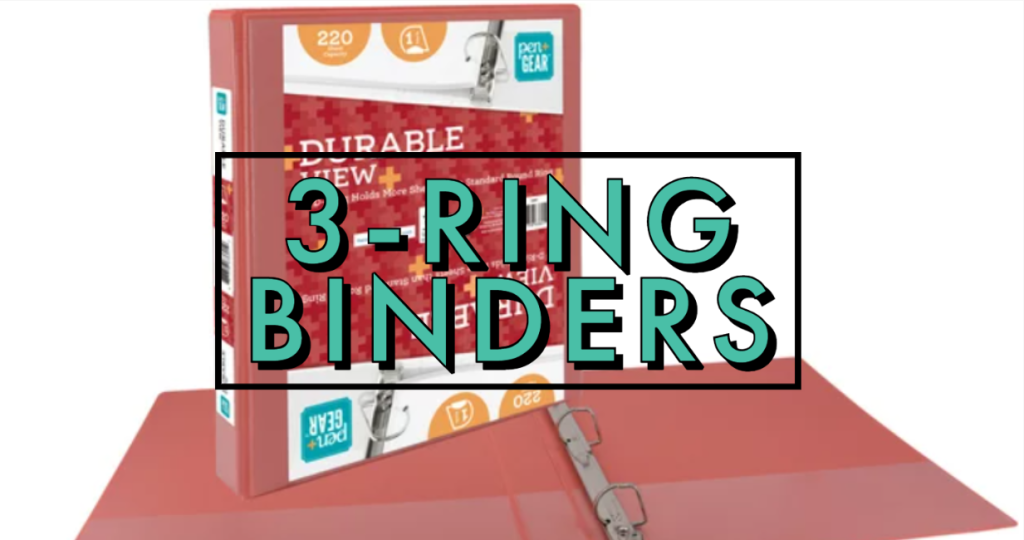
Once you’ve transferred your historic letters into archival sleeves, you may be wondering what’s next. For ease of viewing and storage, I suggest a 3-ring binder! One of my personal favorites is a Pen+Gear 3-ring binder that even has a space on the outside of the binder to label what’s inside. Depending on what color you purchase, you may even be able to score one for under $5! If you purchase the sheet protectors I suggested, you’ll notice that each protective covering has pre-made holes. With these holes, you can easily slip your archival sleeve in a binder.
I personally love using these binders because not only are they budget-friendly, but they’re also user-friendly! Since I have multiple paper items in my collection, I can store them all in a 3-ring binder. Then, when I want to view the documents, I have all my letters stored together and can flip through each document as if it’s a book full of historically valuable primary sources. An extra bonus is that these binders are highly portable, allowing you to show off your documents whenever you choose.
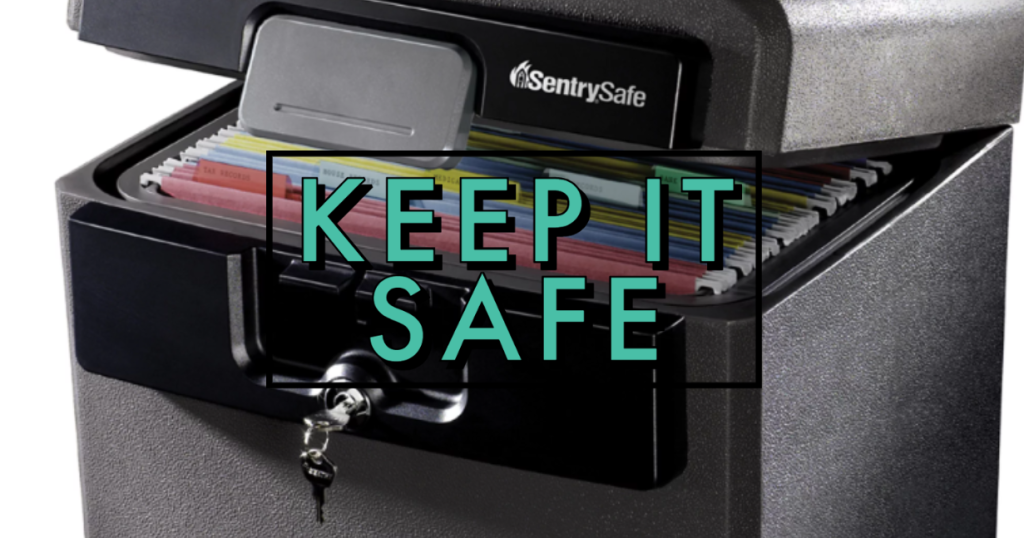
I’ve heard a lot of horror stories from collectors over the years. Their collection comprised letters and photographs, but a fire raged through their home and destroyed these one-of-a-kind pieces. Unfortunately, it’s just not possible to store every antique, like trunks and dressers, in a safe. But the good news is that it’s completely possible to store priceless letters and documents in one! I have a Sentry Safe HD4100, where I can easily fit a few antique books, plus two 3-ring binders with primary sources, inside. There are plenty of safes on the market, but I would advise you to make sure that any safe you purchase is both fire and water proof. After all, it doesn’t do much good to keep a document safe from a fire, only to face irreparable water damage as firefighters work to keep the flames under control. While safes are a bit pricier (often around $50+), the price is totally worth it. Even though you’ll hopefully never need a safe, it’s (no pun intended) better safe than sorry!

Just as too much sun exposure can be harmful to our skin, so too can it damage important documents. That’s why it’s always best to keep your paper items out of direct sunlight. Luckily, if you’ve followed my tips throughout this post and have your documents stored in a safe, you’ve already taken the necessary preservation precautions.

If you’ve been storing documents in an area that isn’t temperature controlled, like an attic or a basement, you’ll need to re-think your storage options. Paper items will be better preserved if they’re in a temperature controlled area. Luckily, most documents will fare just fine if they’re stored within your home and experience the same inside temperature that you do.
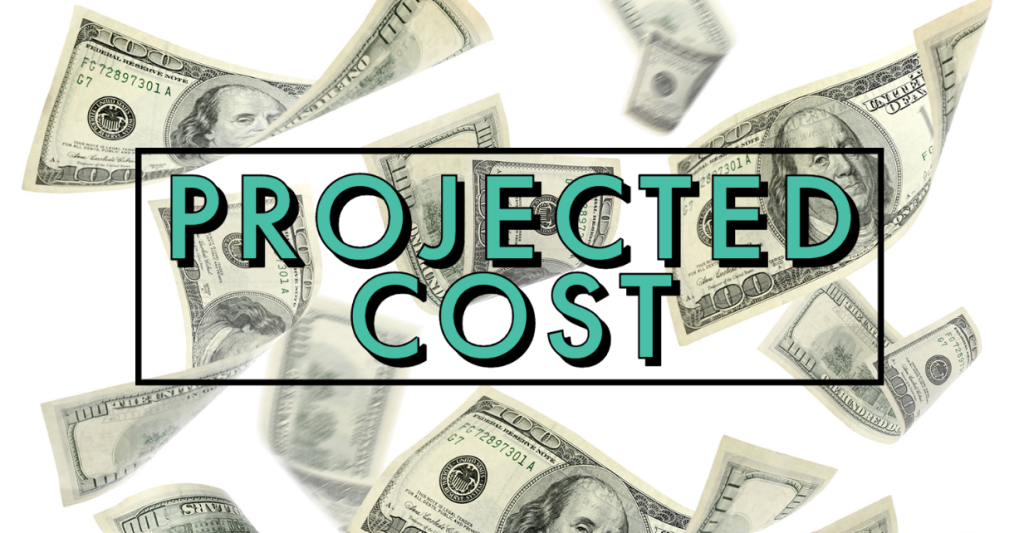
If you’ve been putting off properly preserving paper items because you’re afraid the price might break the bank, think again! While the total cost will have multiple variables, including what safe and color binder you choose or state taxes you’ll have to pay, chances are your total will be just under $100. In fact, if you spent $15 on archival sleeves, $5 on a 3-ring binder, and $70 on a safe, your total would be $90. That’s not too bad when you consider the benefits of preserving historic documents!
Now that you’ve read through my recommendations for properly storing paper items, I trust you’re on the right preservation track. Of course, preserving historic documents is multifaceted, and safely storing items is just one component of having a nice and neat document archive. Be sure to check out this post, where I share photos of how my papers are preserved, while also offering organizational tips.
Keep the History Alive!